Table of contents
Open Table of contents
Why I wanted a spare hardware key
I use passkeys for many of my everyday accounts, including Google, AWS, and Outlook. Most of the time, Bitwarden and Apple’s Passwords app make this very convenient.
But I kept thinking about one failure case: what happens if both my MacBook Pro and iPhone are unavailable?
That pushed me toward buying a YubiKey. The problem is price. The cheapest YubiKey 5 Series model is $58, and in mainland China the usual price is around 300 to 700 RMB. For something I only wanted as an offline backup, that felt a bit expensive.
After some searching, I found that there are mature open source projects that can turn a cheap ESP32-S3 board into a FIDO security key. So I built a simple YubiKey-style backup device and added it as an extra passkey for my important accounts.
It is not a full replacement for a real YubiKey. But for my use case, keeping one offline backup passkey in a safe place, it works.
Hardware
The parts list is short:
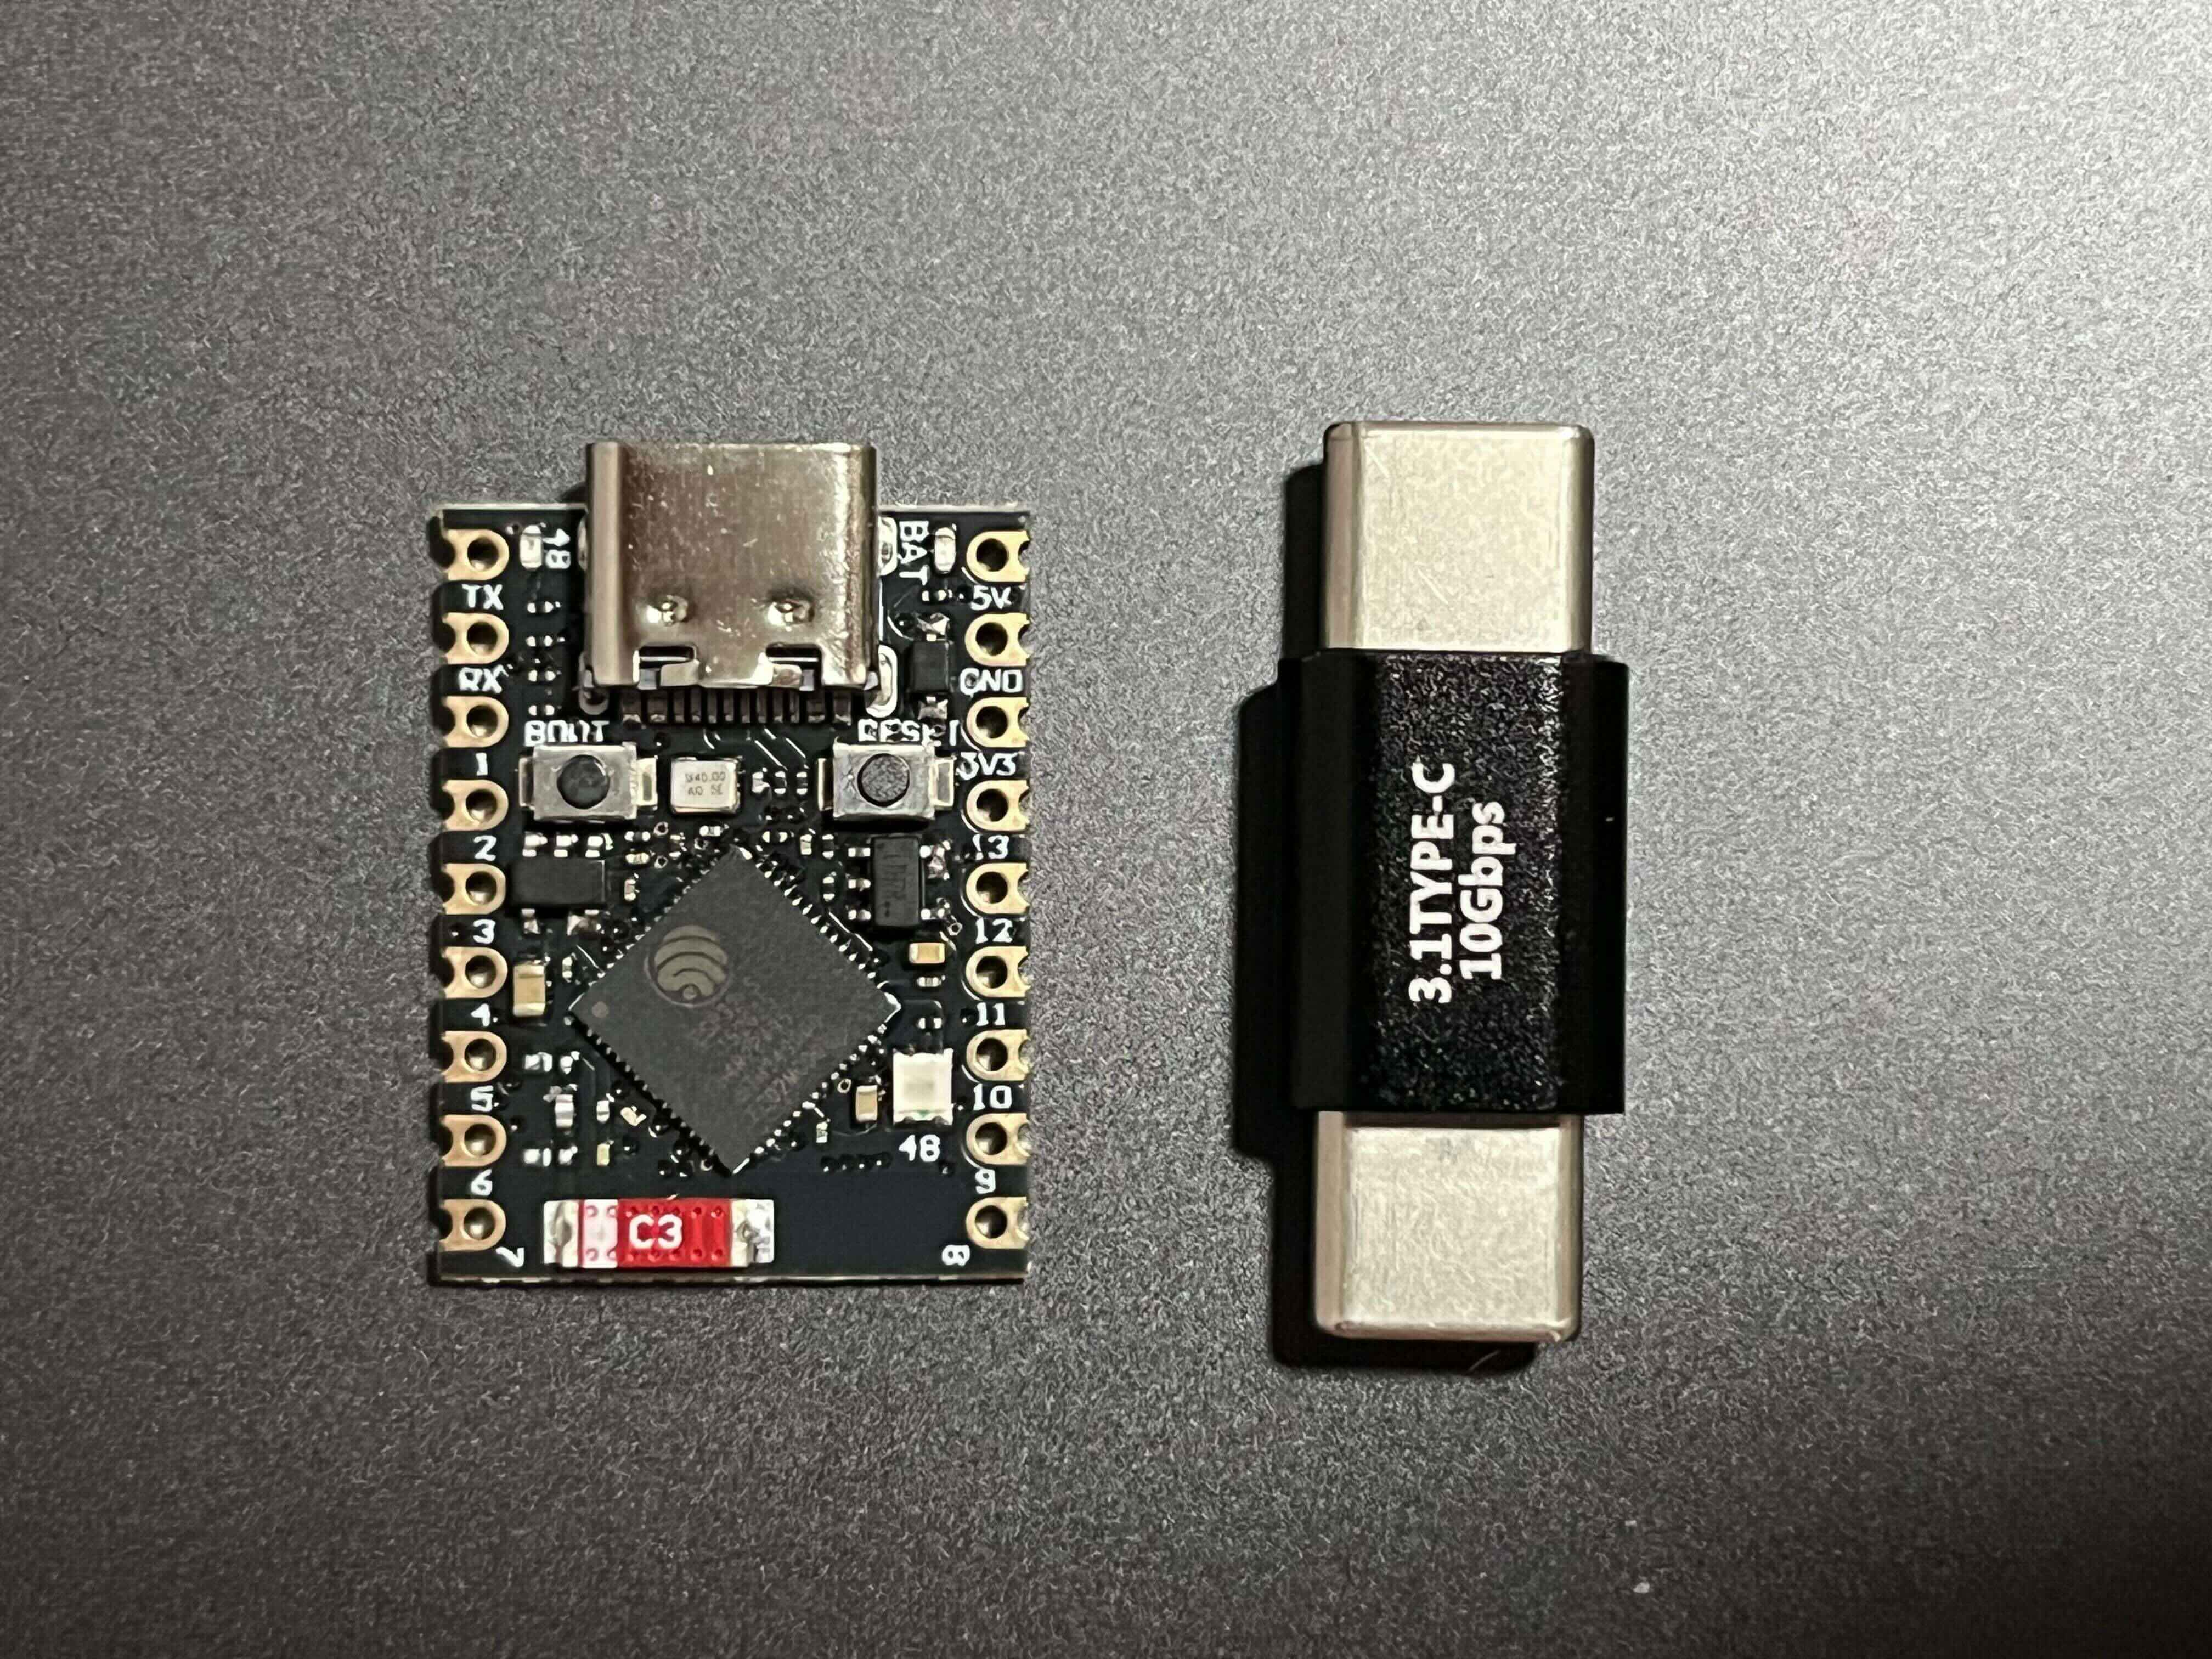
- ESP32-S3 SuperMini
- USB Type-C to USB Type-C adapter (optional)
The total cost was a little over 10 RMB, roughly $2.
Flash the firmware
First, put the ESP32-S3 into boot mode.
- Hold the
BOOTbutton on the ESP32-S3. - Plug it into the computer.
- Release the button.
Then flash the firmware:
- Open PicoKeys ESP32 Flasher.
- Select
Pico Fidoand clickConnect. - Choose the
USB JTAG/serial debug unitdevice. - Select
Install Pico Fido. - If this is your first install, enable
Erase device. - Wait for the install to finish.
Configure the device
Next, use PicoForge to configure the device.
- Download PicoForge.
- Open PicoForge.
- Reconnect the ESP32-S3.
- Open
Configurationfrom the left sidebar. - Change the settings below and save.
Vendor Preset: YubiKey 5
Product Name: Yubico Yubikey
Touch & Timeout: 15
Brightness: 3
LED Dimmable: enable
Use it with Yubico Authenticator
Install Yubico Authenticator, then unplug and reconnect the ESP32-S3.
Yubico Authenticator should detect it as a YubiKey 5A. From there, you can manage it like a normal hardware security key.
The first time you use it with a passkey, the browser will ask you to create a PIN. I used passkeys.io to confirm that passkey registration and login both worked.
Most websites that support passkeys allow more than one passkey per account. I added this device as an extra passkey for my Google account and a few other important accounts. Now I have a way to sign in even if my MacBook Pro and iPhone are both unavailable.
What you get
At the end of this process, you get a basic YubiKey-like device. It does not have NFC, and I would not treat it as security-equivalent to a real YubiKey, but passkey support works normally in my testing.
The board is also bare, so it is worth protecting. A small 3D-printed case would make it less likely to bend, short, or break in storage.
Security notes
This DIY device may be less secure than an original YubiKey. I would not carry it around on a keychain, because losing it would create unnecessary risk.
My plan is to keep it offline in a safe place and test it from time to time. That is enough for what I need: a cheap backup path for account recovery, not a daily authentication device.
Comments
Read replies from Bluesky here.